
Systems
Monster On Rails
Every year the animators were handed a script and told to "make a shot list". To help and the designers navigate the uncertainty elements we implemented the "Monster on Rails" system.A level designer (or cinematic designer) can drag any character into their scene at whitebox, and they will come enabled with all needed functionality. This allows the level designers to block out the level and iterate, allowing for a more collaborative planning process that grows over time and can be informed by animation budgets.
Monster on Rails is production ready, so once the level is blocked out all that is needed is to add new characters, iterate on any character specific features in the child blueprint, and add new animation. It was built to be used on splines or AI, and to have clean handoff and recovery when entering or exiting cinematics. Any modifications to the character behavior is accessible by blueprint/C++, triggers or level sequences. Its intended users are the Level and Cinematic Design team, and it was build iteratively with them, while constantly receiving and implementing feedback.
One Parent Blueprint
Controls all characters' core behaviorThree Action Modes:
Cinematic: Root centers to room location so animators can work to an environment in maya
AI: Speed is driven by character velocity
Spline: Speed is driven by distance along spline calculations
Cinematic Design Support
To support the animation team in the "in between" moments, hooks were created so cinematic designers could add to a character's behavior so they felt less staticGestures: animations called on slots, filtered through layered blend per bone
Eye Tracking: able to track player or objects. Eye and head are treated as separate tracks so we can “lead with the eyes”
Alternative Animation States: These were loaded as blend spaces so the animators could easily add and prototype them, in this example Huggy switches to a “vent crawl” animation
Lip Sync: Loaded in a slot so that it could either control just the mouth (if the animators animated the face) or the whole face (jali could create facial expressions)
Level Design Support
Behavior changes were tied into triggers (which inherited from our save system class) so that level designers could block out and adjust character behavior to achieve the feel they were aiming forDuck Trigger: Dynamically set the characters height and blend into an upper body pose, used Control Rig to create a dynamic duck height
Play Animation: Play a specific animation as a montage
Speed Change: Either set the speed, or leverage “Rubber Banding” which allows the character a minimum and maximum speed. Level Designers to accomodate for various skill levels while still making it feel like the bad guy was “always going to get you”
Level Sequence Trigger: Used to call more custom behavior (VFX, Audio, Animation Combinations, ect)
Unreal Video Production for VR
We hit a point at work where our two product offerings weren't covering certain edge cases - we needed content with the flexibility that Live Action 360° offered, but with the editability of CG. The infrastructure already supported video upload - so CG Launched a new medium: pre-rendered video.Although we originally built the proof of concept in Maya using Vray, we inevitably opted to render in Unreal because of the metahuman and facial animation plugins, as well as the greatly reduced render times.
This was a new product offering that our team developed for the company and it ended up reducing the time to and cost build, circumnavigated the requirement to tie up a customer’s store for days to shoot video, and introduced a level of editability and reusability that wasn’t available using traditional filming methods.
Characters
Metahuman has an almost infinite variety of characters available - with 70 (and growing) starter characters that can be mixed and matched, the variety is endless.

The only adjustments that need be made are additional clothing, which can be purchased or made through Marvelous Designer, and Hair, which can be designed in Maya's Xgen and transferred in.
Environments
Spherical Photos
Photos can be cheaply sourced, either from existing libraries, AI generated, or through marketplaces like Envato Elements.
A photographer shot this location, and also created photogrammetry of the table, which needed to be interactive. This helped to keep the furniture feeling “part of the scene”
Pre-purchased / Modelled
For more editable / reusable environments they can be modelled, or purchased from the Epic Store. 3D environments also enabled 6DOF
Grounding Objects in the World
Adding Realism
We created objects to capture reflections and shadows, modelled any interactive props, and lit the stage, this allowed for reflections in the floor and shadows, adding to believability
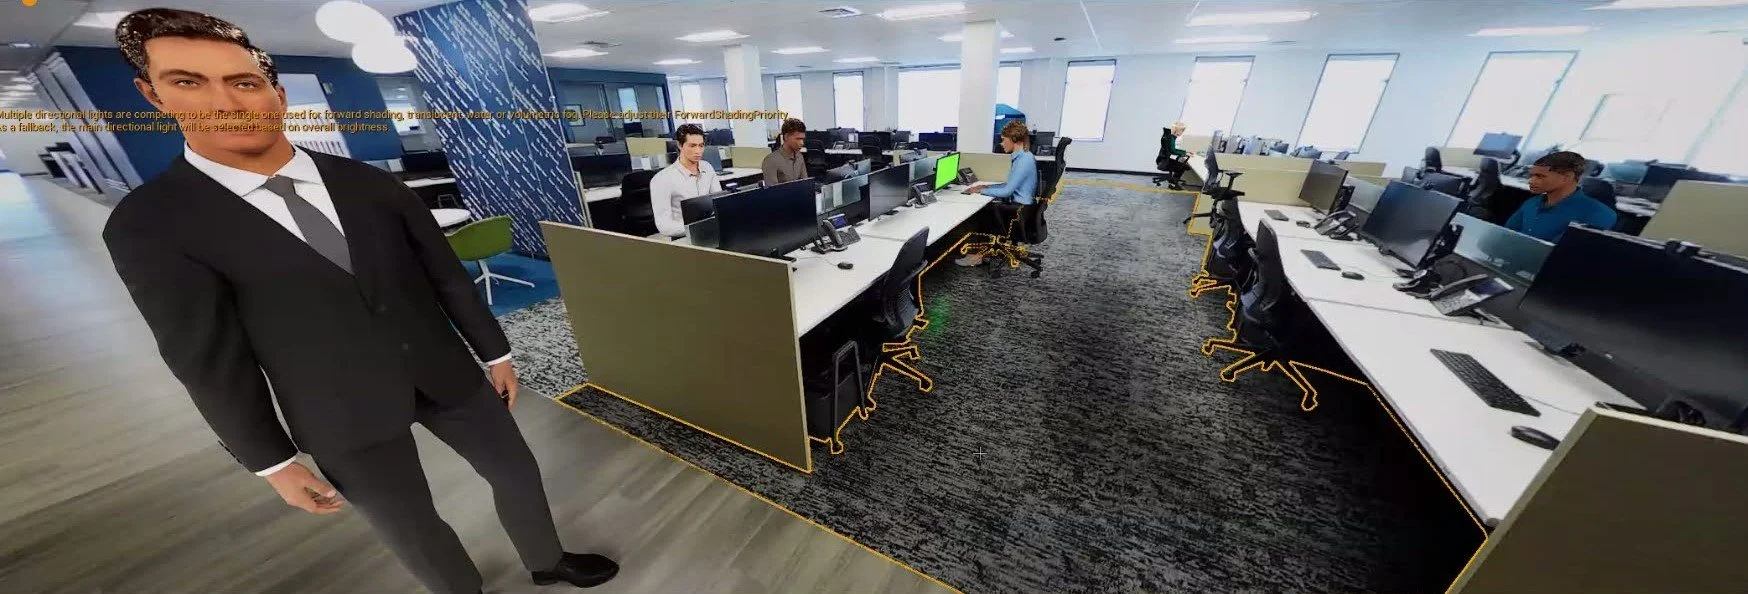
In this example the desks were traced as flat objects and the environment was loaded onto them to occlude the background characters. (Limited to 3DOF experiences)
Animation
Body
After reviewing all available mocap, the team landed on Move.AI as the easiest to setup
The animation team would act the scenes out and process, and that would be retargeted to be used on the metahuman characters, with the option to additively animate or hand animate if needed.
Facial
Facial Animation was captured using Iphones and processed with Live Link directly onto the characters